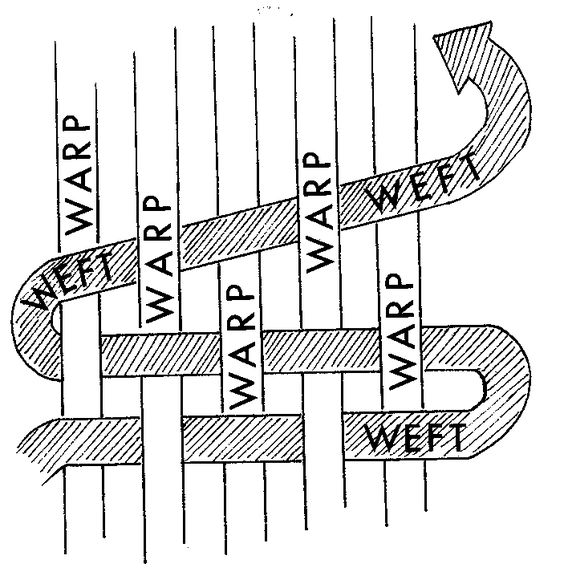
— Warp, weft
I did a weaving workshop last week and really loved it. I’ve been on the lookout for a new tactile hobby for a while. Tried pottery a few times but just didn’t enjoy it that much – just couldn’t get the hang of the wheel and never enjoyed the process very much. I think weaving could be the one. I’m recording some of what I learned here so I don’t forget them, but this is by no means a how-to guide. I have no idea what I’m doing!
The warp is the strong vertical threads that provide a structure for the weaving. The weft is the threads that you weave through the warp horizontally. We were using lap looms in this workshop, which seem to be the easiest type of loom to learn.
Begin by warping the loom: wind strong, plain cotton thread around the notches at the top and bottom. We added a folded piece of cardboard across the bottom of the warp, to keep from going too close to the edge of the loom.
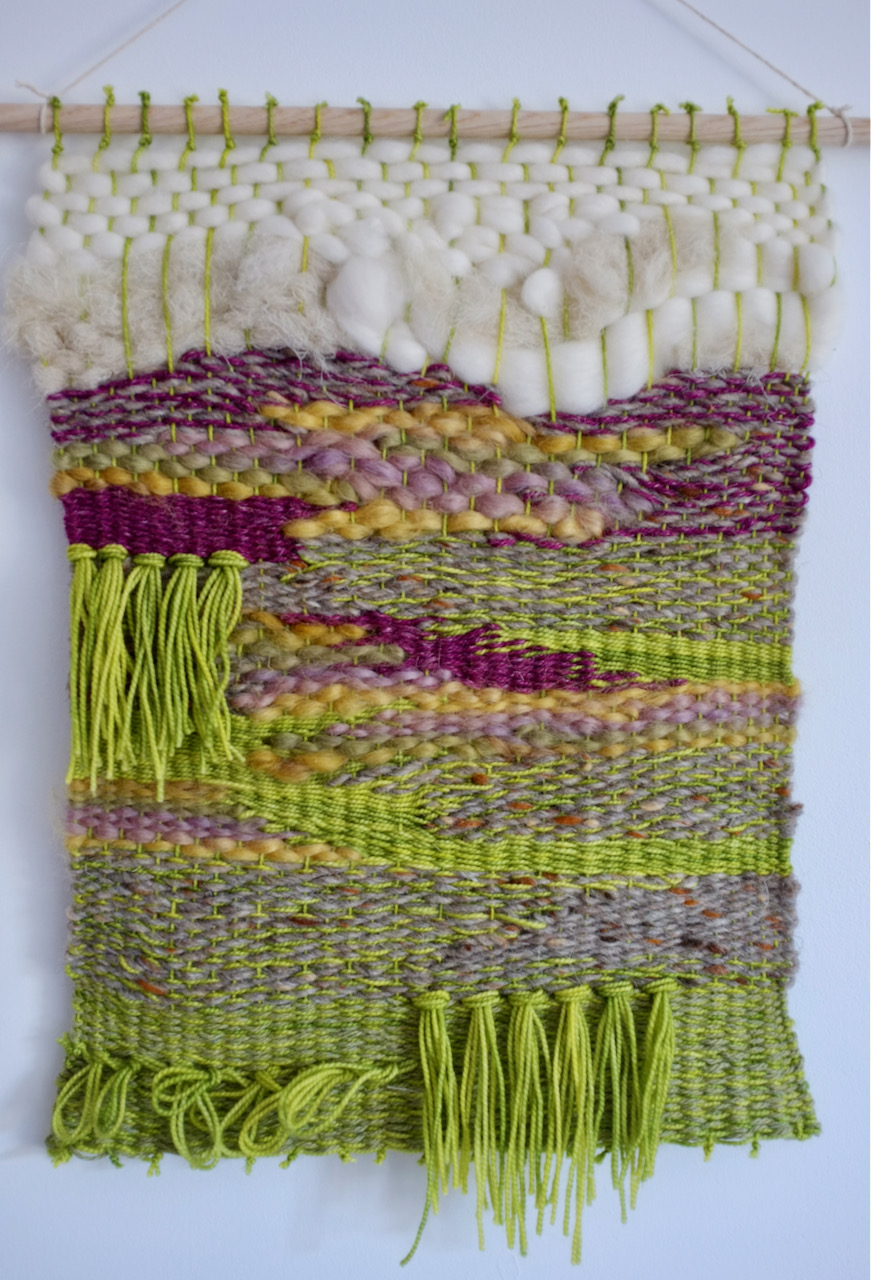
If you want a fringe at the bottom, start by adding that. Cut some even lengths of thread and lie them on top of two warp threads, then loop them under so they’re hanging off the bottom of the warp. Repeat along the whole row.
In the workshop, we just did a tabby weave, which is the most simple weaving technique. Pull the weft thread over the first warp thread, under the second, over the third, and so on. Once you’ve reached the other side, go back in the opposite direction.
I hadn’t realised how grid-based weaving is – the warp provides a regular but invisible grid of columns. Build up shapes vertically with the weft, beginning at the bottom and working upwards. Add variation by changing how far along the columns you weave the thread.
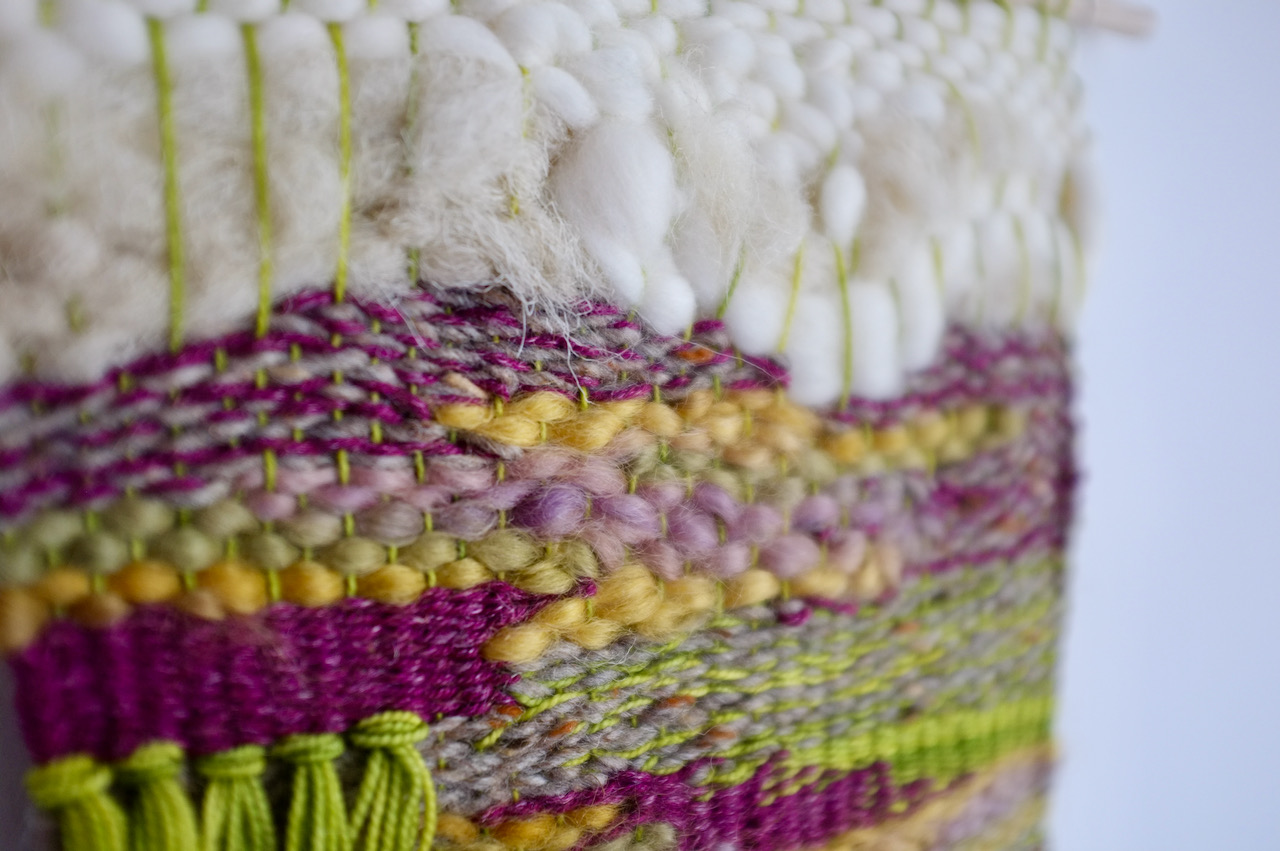
Change threads to switch up the colours and textures. You can even alternate and blend colours within the same row. I love how this looks! You can use a photo for reference, or else just create an abstract composition. I find the abstract compositions much more appealing and really want to try to make something as freeform as this.
Make sure to tuck the ends of the threads back into the weaving. Otherwise, they’ll hang out the sides of the finished piece. Don’t pull the thread too tight at the edges or else it will start to become an hourglass shape.
Once you’ve finished your composition, cut your warp from the loom and double-knot the thread at the top and bottom. Attach a dowel to the top so you can hang it.
Afterward I immediately went and found a bunch of amazing textile artists, of course. I really like weaving as a concept and a metaphor as well. It feels like a feminist practice in more ways than one! 🕷